By Jennifer Johnson, Garage Innovations - Tulsa

Are you tired of looking at the worn, cracked, chipped and stained concrete of your garage floor? Like many others, you have probably considered applying an epoxy coating to your garage flooring, but you may have been unsure of the process. These are the steps professionals follow when they apply epoxy coatings.
Choose an Epoxy Flooring Product That Meets Your Garage Floor Needs
The first step is to determine what you need and want. For example, what colors, styles or add-ins do you want? Your installer will also measure your garage to determine its square footage. If you want the epoxy to be applied slightly up the walls, let the contractor know. This ensures that enough of the epoxy coating is mixed and ready to apply to your whole floor at once.
Prepare Your Garage Flooring
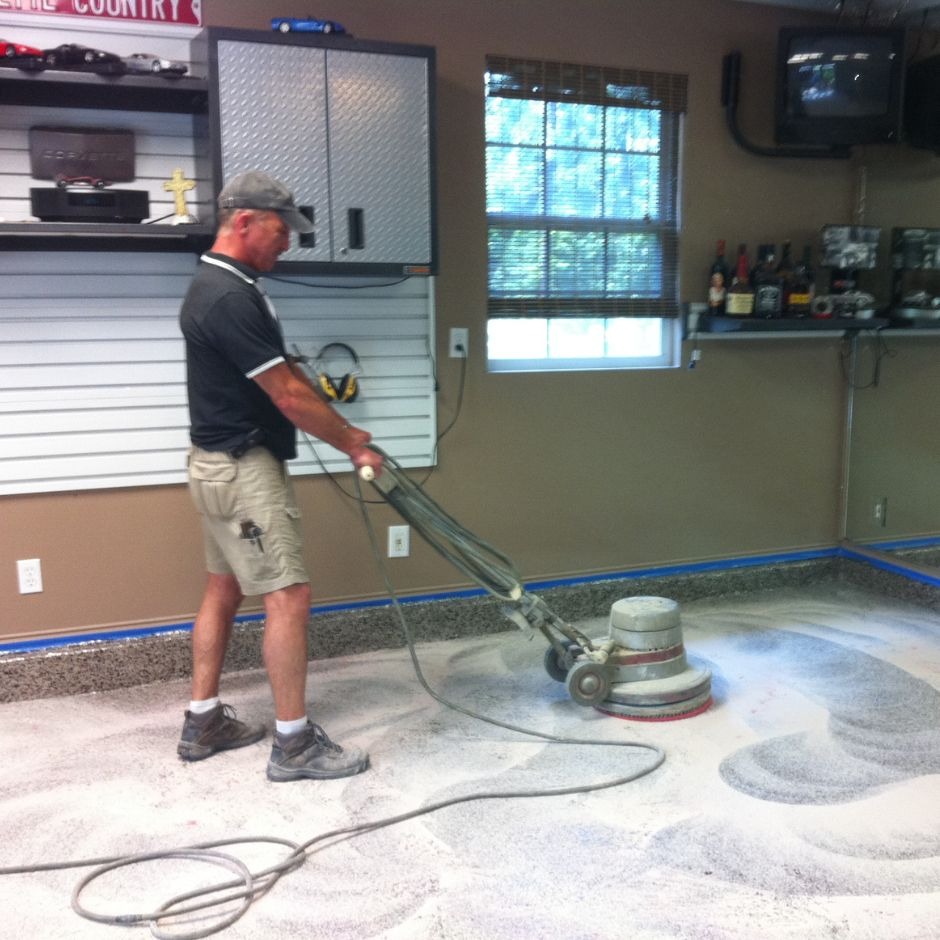
The next step is to prepare the concrete flooring of your garage. First, your existing coating, grease, dirt, chemicals or other contaminants need to be removed. Then, any holes, cracks or other damage needs to be patched and cured completely.
Create a Plan
The next step is to determine a good day to apply the epoxy. Avoid rainy or snowy days. Also, your installer will plan the application method and process to ensure an exit from the garage is available when the epoxy is applied and curing. You also need to make arrangements for parking and avoid walking on your flooring until the epoxy is fully cured.
Apply the Epoxy
Most epoxy flooring comes in kits with instructions. A seasoned professional should have the knowledge necessary to apply two full coats uniformly. The product must be applied quickly, typically within two hours, after it is mixed, so be available to help where needed.
A final coat of polyurethane or clear epoxy is added to increase the floor’s durability. Increase the safety of your floor by adding a nonslip additive to the clear coat.
Increase the beauty, durability and safety of your garage flooring with a professionally applied epoxy coating from GARAGE INNOVATIONS.
 Add Row
  Add Element


Write A Comment